Page 1 of 1
Photos of line tamer
Posted: Tue Aug 07, 2012 1:42 pm
by foley
Is anyone able to get a few photos of tonight line tamer for the boat. i cant make it but would love and idea of what to do.
Cheers
Ben
Re: Photos of line tamer
Posted: Tue Aug 07, 2012 4:14 pm
by Dave Bailey
Hi Ben.
I was planning on taking some notes, so I will see what I can do.
Cheers,
Dave.
Re: Photos of line tamer
Posted: Wed Aug 08, 2012 8:53 am
by Tony Ong
Hi Ben
I've got some photos of my line tamer, which is a copy of Steve's. I'll see if I can find some and post them up in the next day or so.
Re: Photos of line tamer
Posted: Thu Aug 09, 2012 3:41 pm
by Tony Ong
The bin we ended up using is a 50L Willow brand bin. It's available from Bunnings. It comes with a dome lid, which is handy for using as a template for marking the base of the VLMD. There are lots of other options, however, this one seemed to be the best fit for the job at the time.
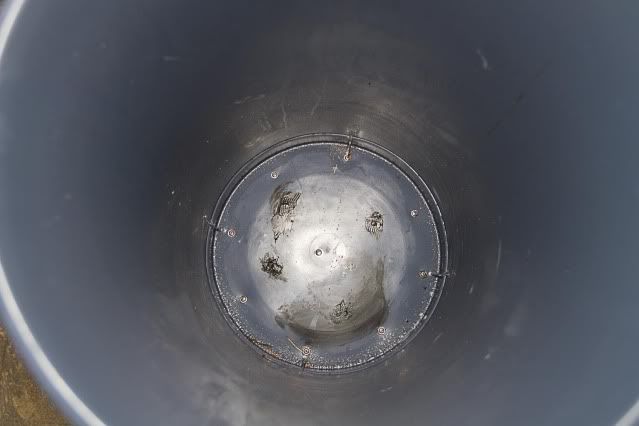
I used some 24mm marine ply as a base. Paint the ply to protect it from water. The bottom of the bin isn't flat. Use something like liquid nails or silicone to fill in this space. You'll need two full tubes to fully fill this void. I used marine grade silaflex, but it's probably a little extravagant when something like liquid nails does the job for a fraction of the price. A handful of screws will hold the bin to the base. Finish off with a bead of silicone around the base of the bin.
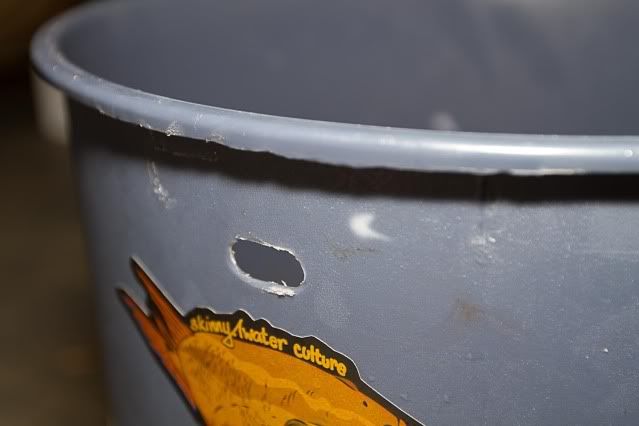
The bin has a couple of handles on the lip. We cut these off, as these could potentially catch line on a fast running fish. A dremmel or angle grinder does the job well.
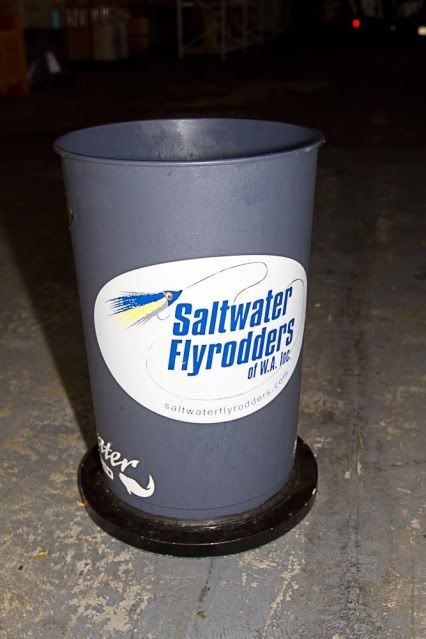
We cut a couple of oblong holes into the bucket. You can use a velcro rod wrap to hold your rod to the bucket whilst travelling.
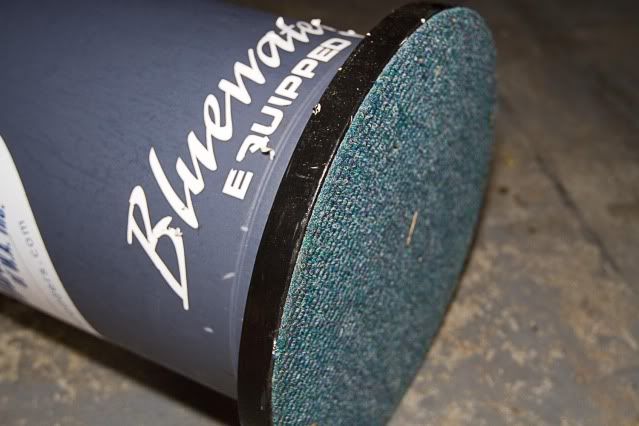
I had some carpet squares sitting around that I stuck onto the bottom of the base. Makes the VLMD non slip.
The 'birthday cake' is some 100mm foam from spotlight. This gets pushed to the bottom of the bin. Some retic risers pushed through the foam will help the line from tangling whislt travelling. The foam soaks up 6-7 litres of water. It helps add more weight (stability), as well as keeps the line wet and cool. Essential in the middle of summer when the deck of the boat hits 50+ degrees. Only put enough water that the sponge can soak up. You don't want water moving around above the foam, as it will cause your line to tangle.
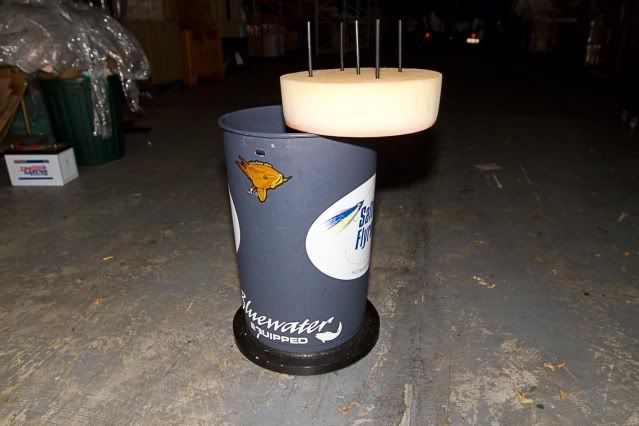
Finish off with your favourite club stickers and you're ready to go.
Re: Photos of line tamer
Posted: Fri Aug 10, 2012 7:09 pm
by foley
Awesome! Thanks Tony. Im off to bunnings tomorrow as it happens.
Thanks for your time.
Ben
Re: Photos of line tamer
Posted: Sat Aug 11, 2012 3:04 am
by Adam
It is a great looking bucket Tony. I like how the components are readily available and easily assembled. You don't need to have connections to purchase PVC pipe for the more "convential" ones.
Regarding the water in the bottom I've found that having an inch or so of water in the bottom doesn't cause issues but I think the one I use has more spikes (12 in total). I do like how you can take the base with spikes out.
Most importantly how do we get a hold of the club stickers to be put on the fleet of new ones that are likely to be made?
Adam

The base and tube of PVC VLMD, 12 spikes
Re: Photos of line tamer
Posted: Mon Aug 13, 2012 9:06 am
by Tony Ong
Hi Adam
Shoot me a postal address and I'll send you some.
Steve's original VLMD had the spikes coming out of the base. Fixing to the foam was quicker, and works just as well.