Black Jack
Step 1. Select a long shank open gape hook.
Step 2. Lay in a thin bed of thread through to the start of the bend of the hook.

Step 3. Tie in 100+ pound mono at the start of the bend in the hook – this is to aid in the gluing purchase of the hook to the foam body.
Step 4. Select some Yaks hair – folding in half and trimming any dags to a taper and form the base of the tail. Tie in at the same point as the mono. Overall length from hook eye to tail approx. 140 – 150mm in length.
Select 3 – 4 lengths of Lateral Scale tying and folding to form 6 – 8 strands at the same point as previous.

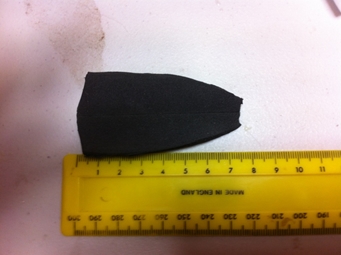
Step 5. Pre-cut 4mm Black Foam body approx. 75mm in length. Make a shallow cut down the back bone of the foam body to aid in folding and assembly.
To achieve the body shape you can fold a piece of paper and cut the profile of the actual size to the desired shape and then opening as a cutting template.
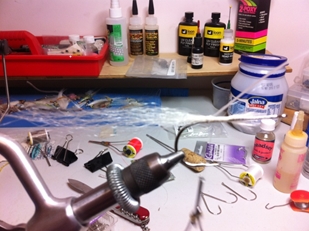
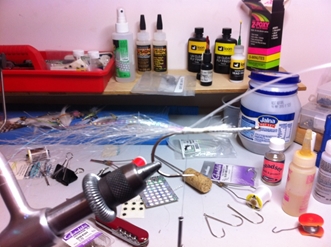
Step 6. Turning the hook upside down in your vice you are ready for the messy bit, the Epoxy.Mix a small amount of 2 part epoxy as the gluing is in 2 stages.
Lay the foam body inside facing up.
- To secure the body
- Fill the body and the tail section.

Step 7. Apply the epoxy to the foam body and some around the hook shank and mono where its tied to the hook shank. Make sure that you have a roll of sticky tape in a dispencer ready to secure the foam body to the hook.
Pinch- Hold- Tape
Press the body to the hook shank making sure that the bottom of the foam body lines up along the shank where desired.
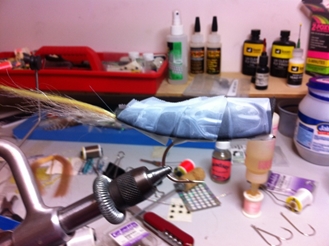
You will have some time to move the body into the final position. If the foam does not seem wrapped tight enough pinch and continue taping until the desired shape is formed from the hook eye to the end of the tail.
Be aware that the tape reaches itself around the body and sticks to itself or else it may release and the foam can spread before curing.
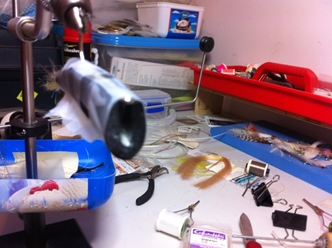
Step 8. Allow to cure.
Step 9. Remove sticky tape.

Step 10. Fill any places in the under body where glue may not have filled laying in some additional Lateral Scale to add flash on the belly. At the same time wipe a thin smear of epoxy where you intend to position the eyes to aid in adhesion.

Step 11. Place the eyes.
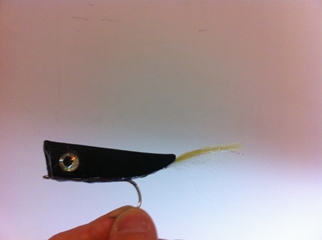
Step 12. Finally fill the face of the popper but this does not have to be flat as cupping aids in the Bloop when retrieving.
If you like you can place a thin coat of epoxy over the eyes.

You’re done – go fish’n!